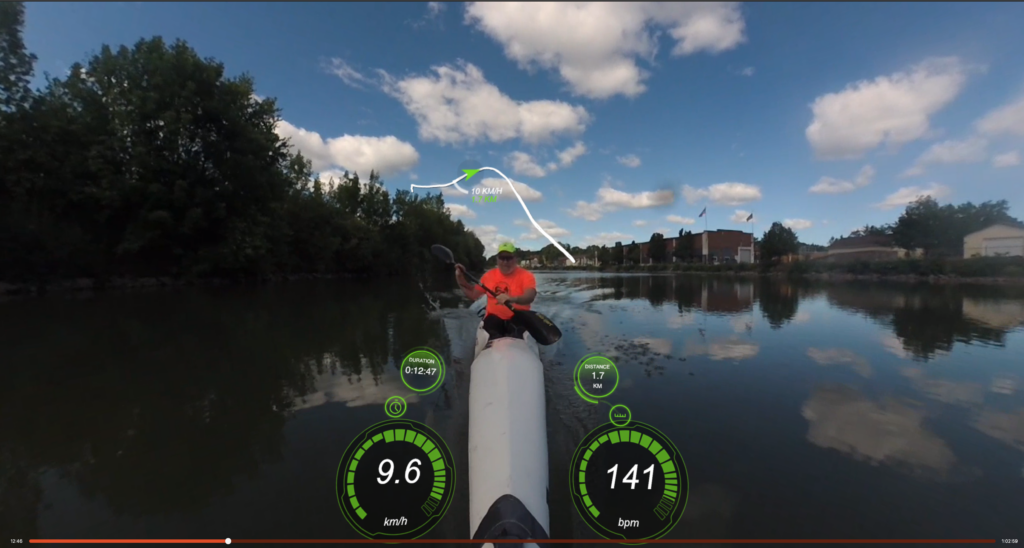
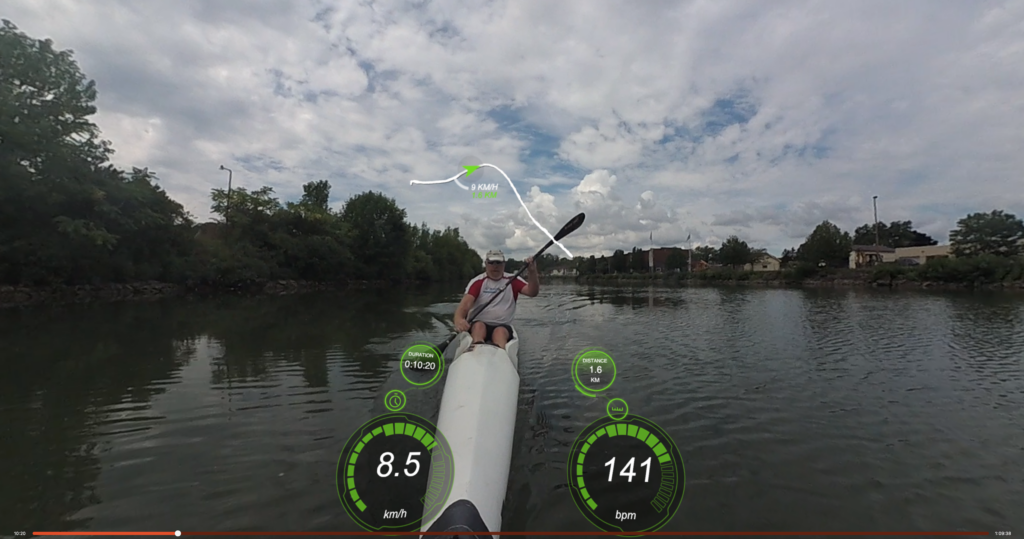
So a little under 5 years ago, I was taking a paddle and I had a pain in the area of my left sit bone so bad I had to stop paddling, get out of the boat, do some stretches, and continue on. The previous year had been lockdown and in spite of the fact that I only had one race that year I had been training hard and working on Strava segment CRs and virtual races. But 2021 was going to be my best year ever, and so I started out the year with a bang. Most years I had been lucky to get more than a few 10 mile plus paddles in before the Round the Mountain race, but this year I’d started out with a plan to really ramp up my mileage, and maybe take a shot at the 90 Miler the following year. So there I was, a month to go before the race season started, and I was already doing 25-30 kilometer long paddles. And feeling an annoying nagging pain. I was also doing 3-4 hour long bike rides on days I wasn’t paddling.
The pain kept increasing as the season went on, but rather than cutting back on training, I kept going. I did end up having an amazingly good season, in spite of the fact that towards the end of the season I would need to push my butt out of the seat for a few seconds to get some momentary relief, then continue on. I couldn’t wait for the end of the season, and when it finished I put my boat away and didn’t touch it until much later than I usually start the following year. And when I did, I went for an easy paddle but was in agony after 15 minutes, and spent another 30 minutes getting back to the dock because I had to keep stopping because it hurt too much. Much later in the year I discovered that with a thermarest pad placed exactly right, I could stand slightly longer paddles, but with much reduced stability so I only paddled my more stable boat on the most wave free segment of the canal.
Now the problem with the sit bone area of your body is that there’s a lot going on there. Basically near your sit bone (your Ischial Tuberosity), you’ve got a bunch of muscles anchored there, like your Performis, and your Quadralatis, as well as your Sciatic nerve, your Hamstring tendon, and there’s a Ischial Bursa there as well. So during the last 5 years I’ve had a lot of conflicting diagnoses, a lot of different therapies, and a lot of medical interventions.
As an aside, is there such a thing as being immune to cortisone shots? I’ve had a bunch of them over the years, including in my knee, in my shoulder, in my carpal tunnel, and in the last 5 years, in various nerves and tendons etc. And I’ve never gotten a smidgen of relief from any of them. The closest I’ve gotten is sometimes an hour of relief from the anesthetic they inject before the cortisone.
Anyway, after trying everything from stretching routines to spinal implants, my local pain doctor suggested I need an Ischial Bursectomy. I asked him who could do it, and he cut and pasted a Google search into an email and sent it to me. Basically no local doctor does it. And if you do the search, you find several doctors around the country whose websites say they do it, but when you contact them they say they don’t do it any more. Oh, and maybe a few doctor’s offices who think you’re saying something different – I didn’t catch on until a few of them said “we only do hip operations”. I tried saying it like “iskeal” to see if that helped with the understanding.
Eventually I found one doctor on Park Avenue in New York who, when you call to ask, the front desk says “sure, we do it” and makes an appointment, but when you fly down there at great personal expense, the doctor says that they don’t do it, but have you thought about PRP? To say I was pissed off at his clinic was an understatement. Ok, I had thought about it, but it seems pretty dubious, since all it is is that they take some blood out, centrifuge it down, and inject parts of it back into you. There’s a similar therapy going around but instead of your blood platelets, they inject sugar or something like that. I think the theory behind both of them is to stimulate an immune/inflamation reaction. But I did know that one of the doctors I’d used in Rochester does PRP, so I went back and tried that, and it was ineffectual. (Oh, and not covered by medical insurance.)
Eventually somebody on Reddit’s r/ChronicPain subreddit got in touch with me to say that they’d had an Ischial Bursectomy from a Doctor Harris in Houston and it had done them a world of good. So I got in touch with Doctor Harris’s office and after jumping through a lot of hoops I got an appointment to fly down there so he could examine me. And he agreed to do the procedure! I was so happy! Doctor Harris exudes confidence and healing.
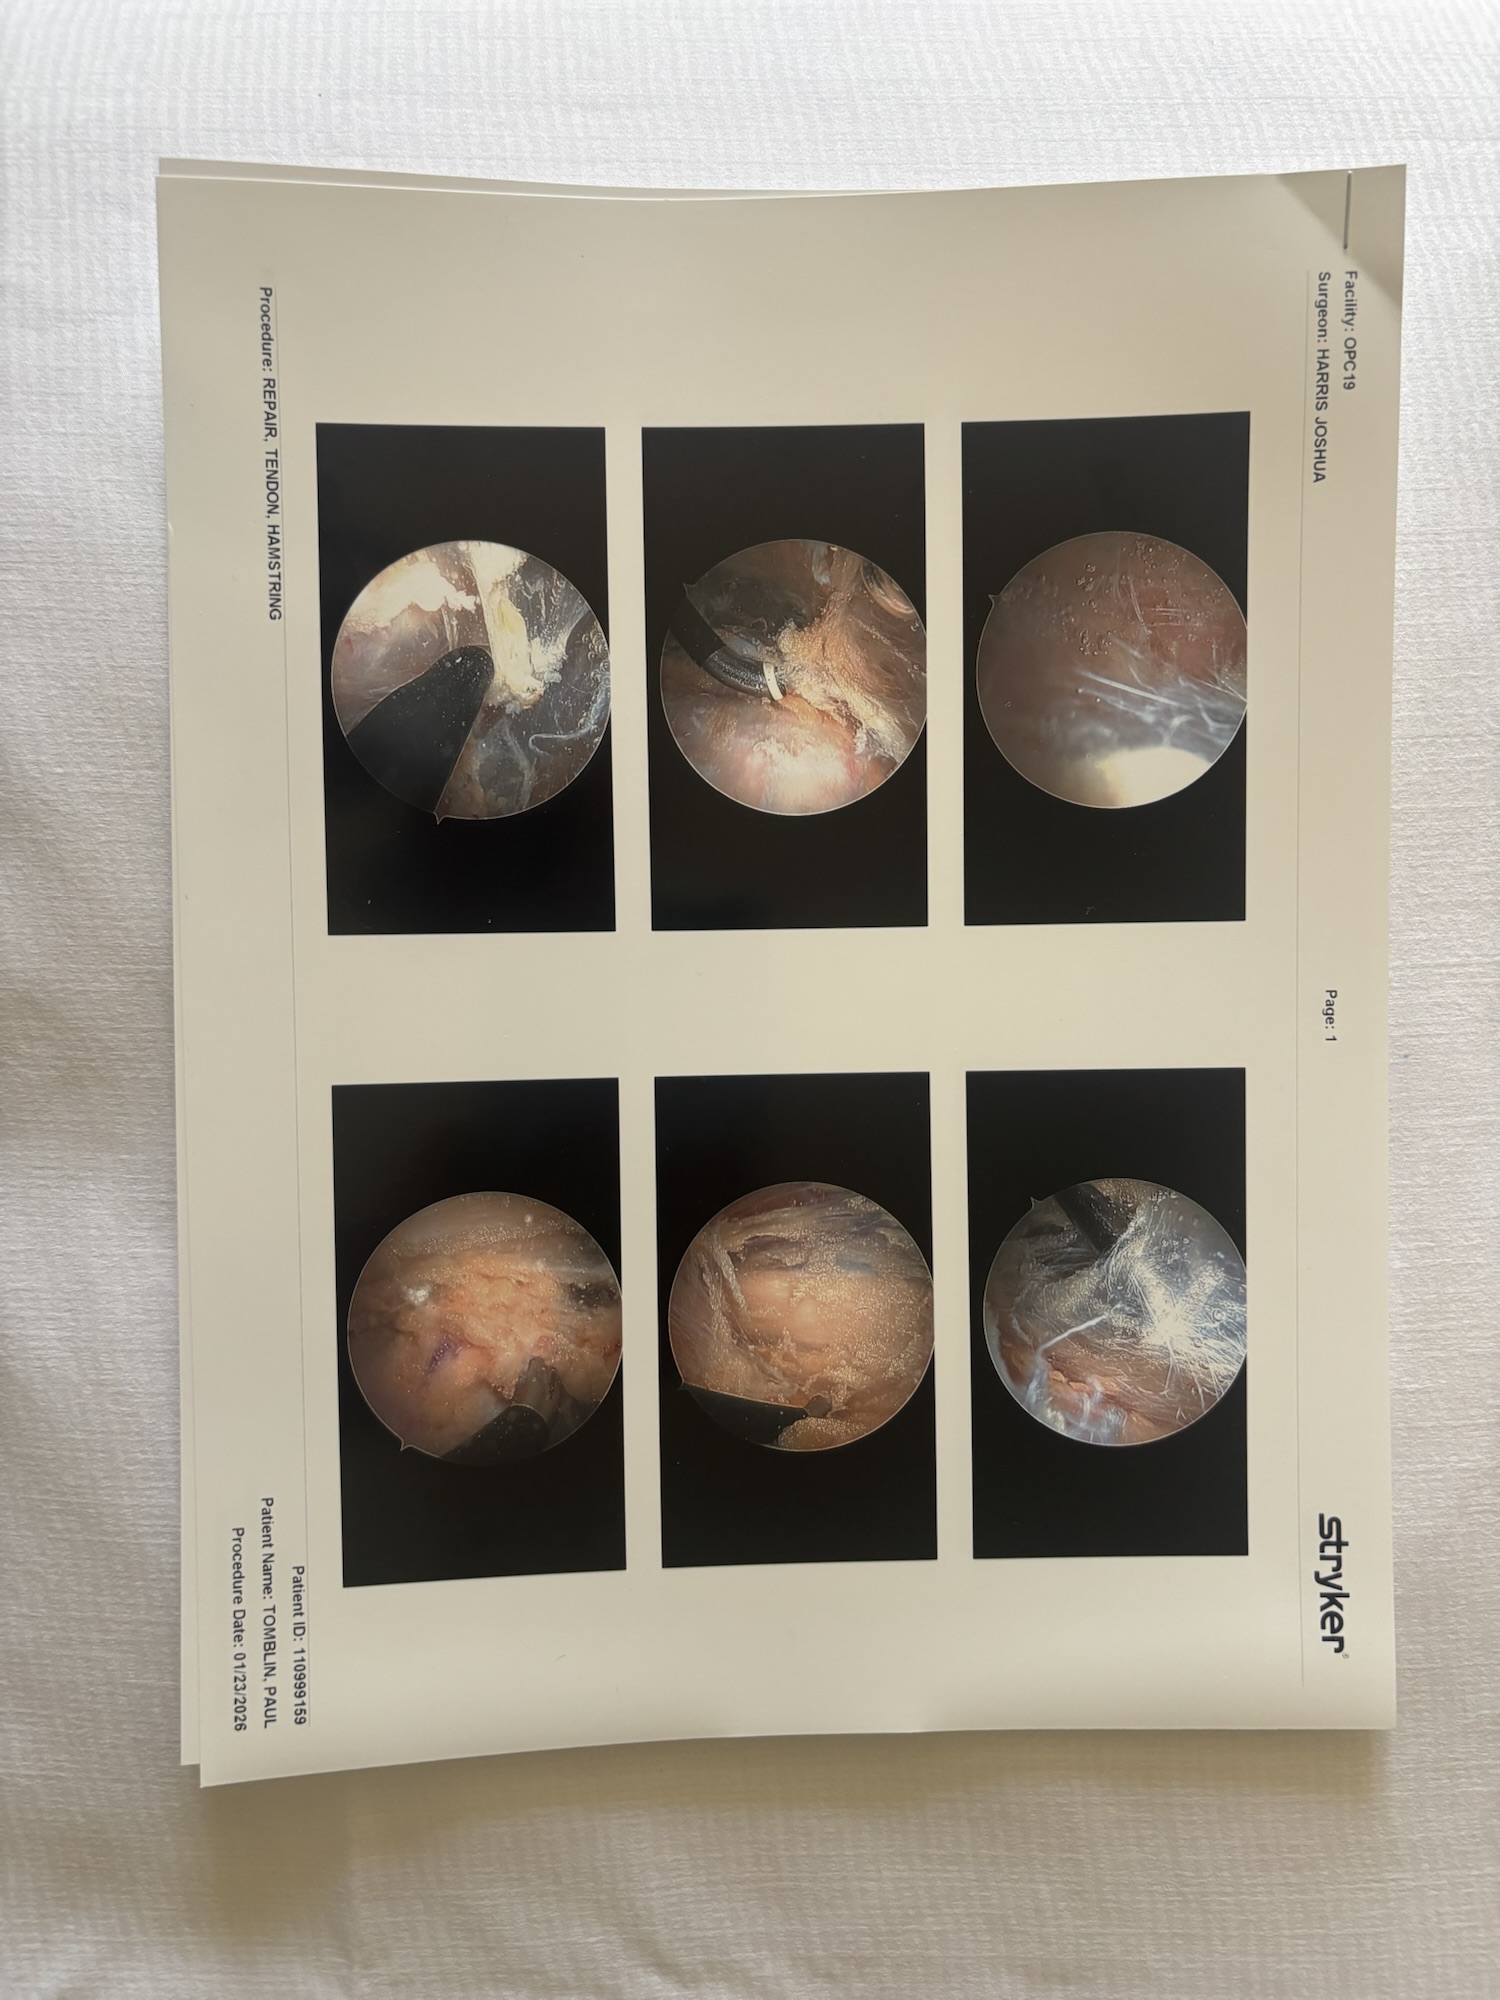
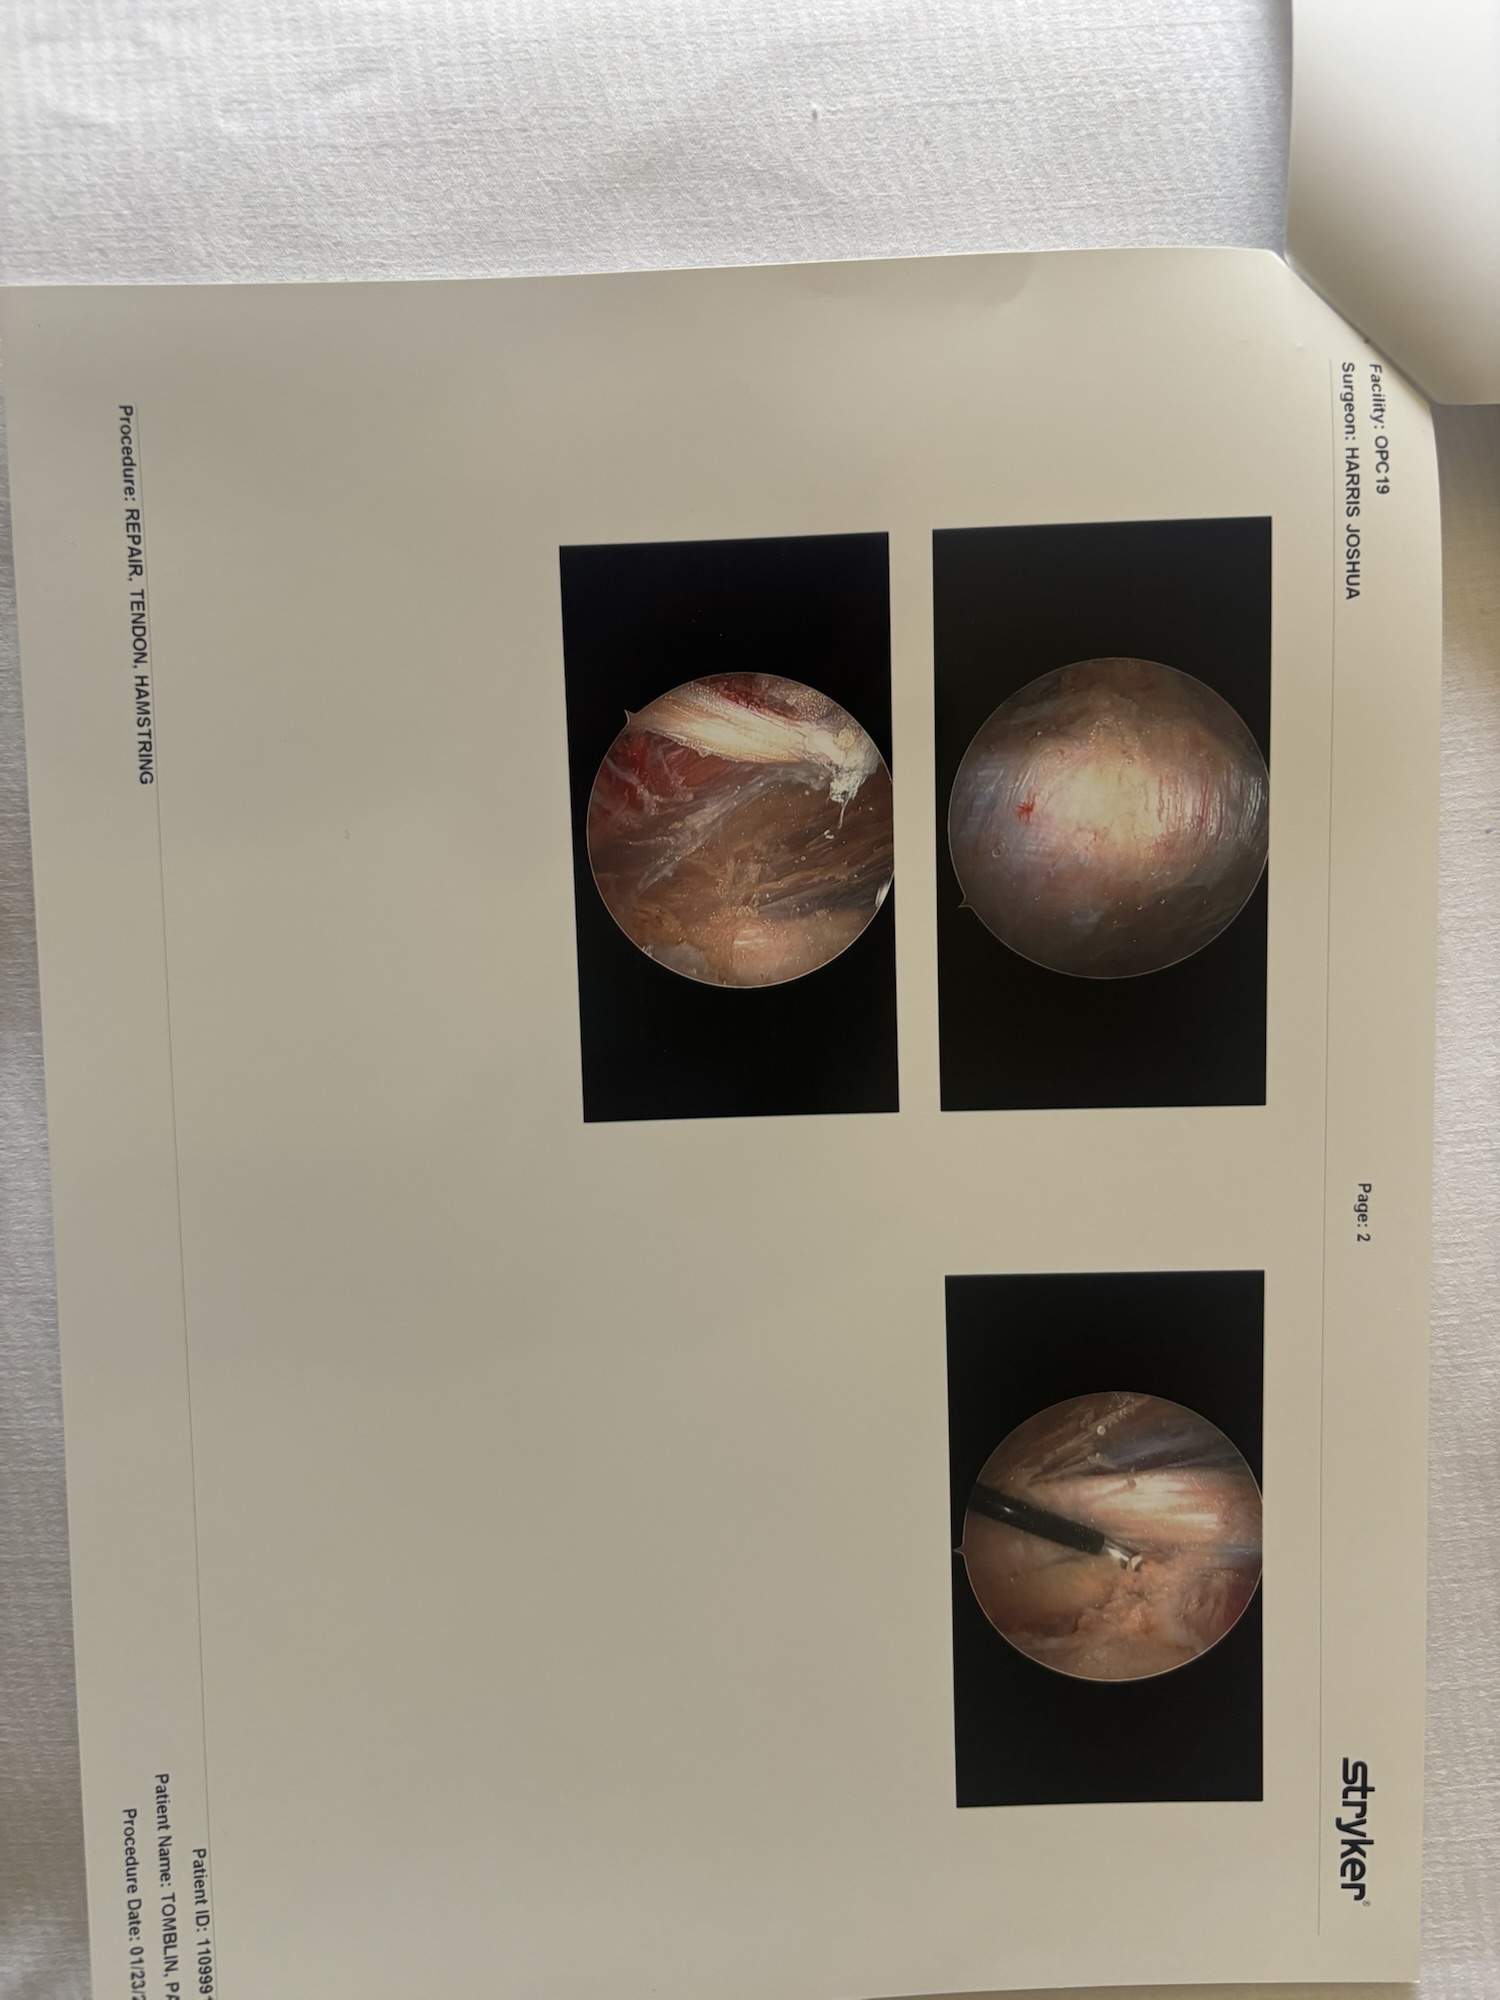
So eight days ago, I went under the knife (or the arthroscope) and got exactly what I’d spent the last couple of years dreaming about. He gave me some photos taken through the arthroscope, showing all these fibers growing out of my bursa and preventing my sciatic nerve and my posterior femoral cutaneous (PFC) nerve from moving the way they’re supposed to be. And after photos showing the bursa gone, the fibers gone, and both nerves free of entanglements. He said that in normal conditions, that bursa is about 1mm thick, but mine was swollen up to about 6mm. He also said that while he was in there, he was moving my leg around and practically had me doing the splits to make sure there was no impingement between the bones in there, which can be a problem. No wonder orthopedic surgeons look so fit, when they have to move my fat ass around like that.
So like I said, it’s been 8 days and of course I’ve got post-op pain. It’s really hard to judge whether the pain I’m feeling right now is the same old pain from the last 5 years, or it’s because somebody inserted a metal object and stared scraping away parts of my body. But considering that a lot of the pain I’m feeling is from different places than the old pain, I’m hopeful. I think the doctor suggested I might not know for sure how much difference it has made until 5 weeks go by, so I’m trying to be patient about this. And mostly succeeding, but not 100%.
Oh one other thing – Doctor Harris suggested I get a DEXA bone density scan because he felt my sit bone was a little soft. How shit would it be after all this to find out that the pain was actually my sit bone collapsing under the pressure of sitting on it 18 hours a day?
So where do we go from here? Well, I promised myself a new camera to celebrate this milestone. The question I’m waiting to find out is do I buy a new drone (the Avata 360 when it comes out) for filming other people’s kayak races, or do I buy an action camera (the Insta360 X5) to mount on my kayak for filming my own.
Obviously I’m hoping for a return to kayaking, but I’m thinking I’m not going to be as fanatic about it – no more 6 days of kayak work outs and a 4 hour bike ride on the off day. I believe that piling on more and more workouts didn’t really improve my speed that much any way. Plus it’d be hard to maintain a consistent workout regime when I’m trying to do more with Vicki. I think the goal now will be to get in such workouts as I can, go to races when I can, but work them in around my life instead of working my life in around the kayaking.
And what if the surgery didn’t fix the problems? Well, then life will be pretty much like it’s been for the last year – RV trips with the “rule of 3”, and videoing some kayak races. It’s not awesome, but it’s good enough to tide me over until I find the next thing to try.
The rule of three is “travel no more than 3 hours a day, get to your destination by 3pm, and spend 3 days at each campground”. We’ve kind of modified it to have a couple of 3 hour days in a row before recovering my pain levels by having a 3 day or more stay at a campground. But we’ve been thinking about longer trips, like across the country, and there’s no way we’d want to do that unless we can manage a few 5+ hour days between the major stops. Doing it 3 hours at a time would take more than a whole summer.

