
I’ve been having some fun making composite pictures. I saw a composite picture at a friend’s house, and I was struck by how good it looked, not because it was seamless, but because it wasn’t seamless. The seams gave the picture character and interest. I decided I wanted to try to do the same thing. I may be no Claude Samton, but I can at least steal his ideas.
Fortunately, right now I’m on contract at Kodak. That means I can get 35mm film developed for free, and not only do I get two sets of prints, but I also get a Picture CD. So a technique the requires taking dozens of pictures doesn’t faze me.
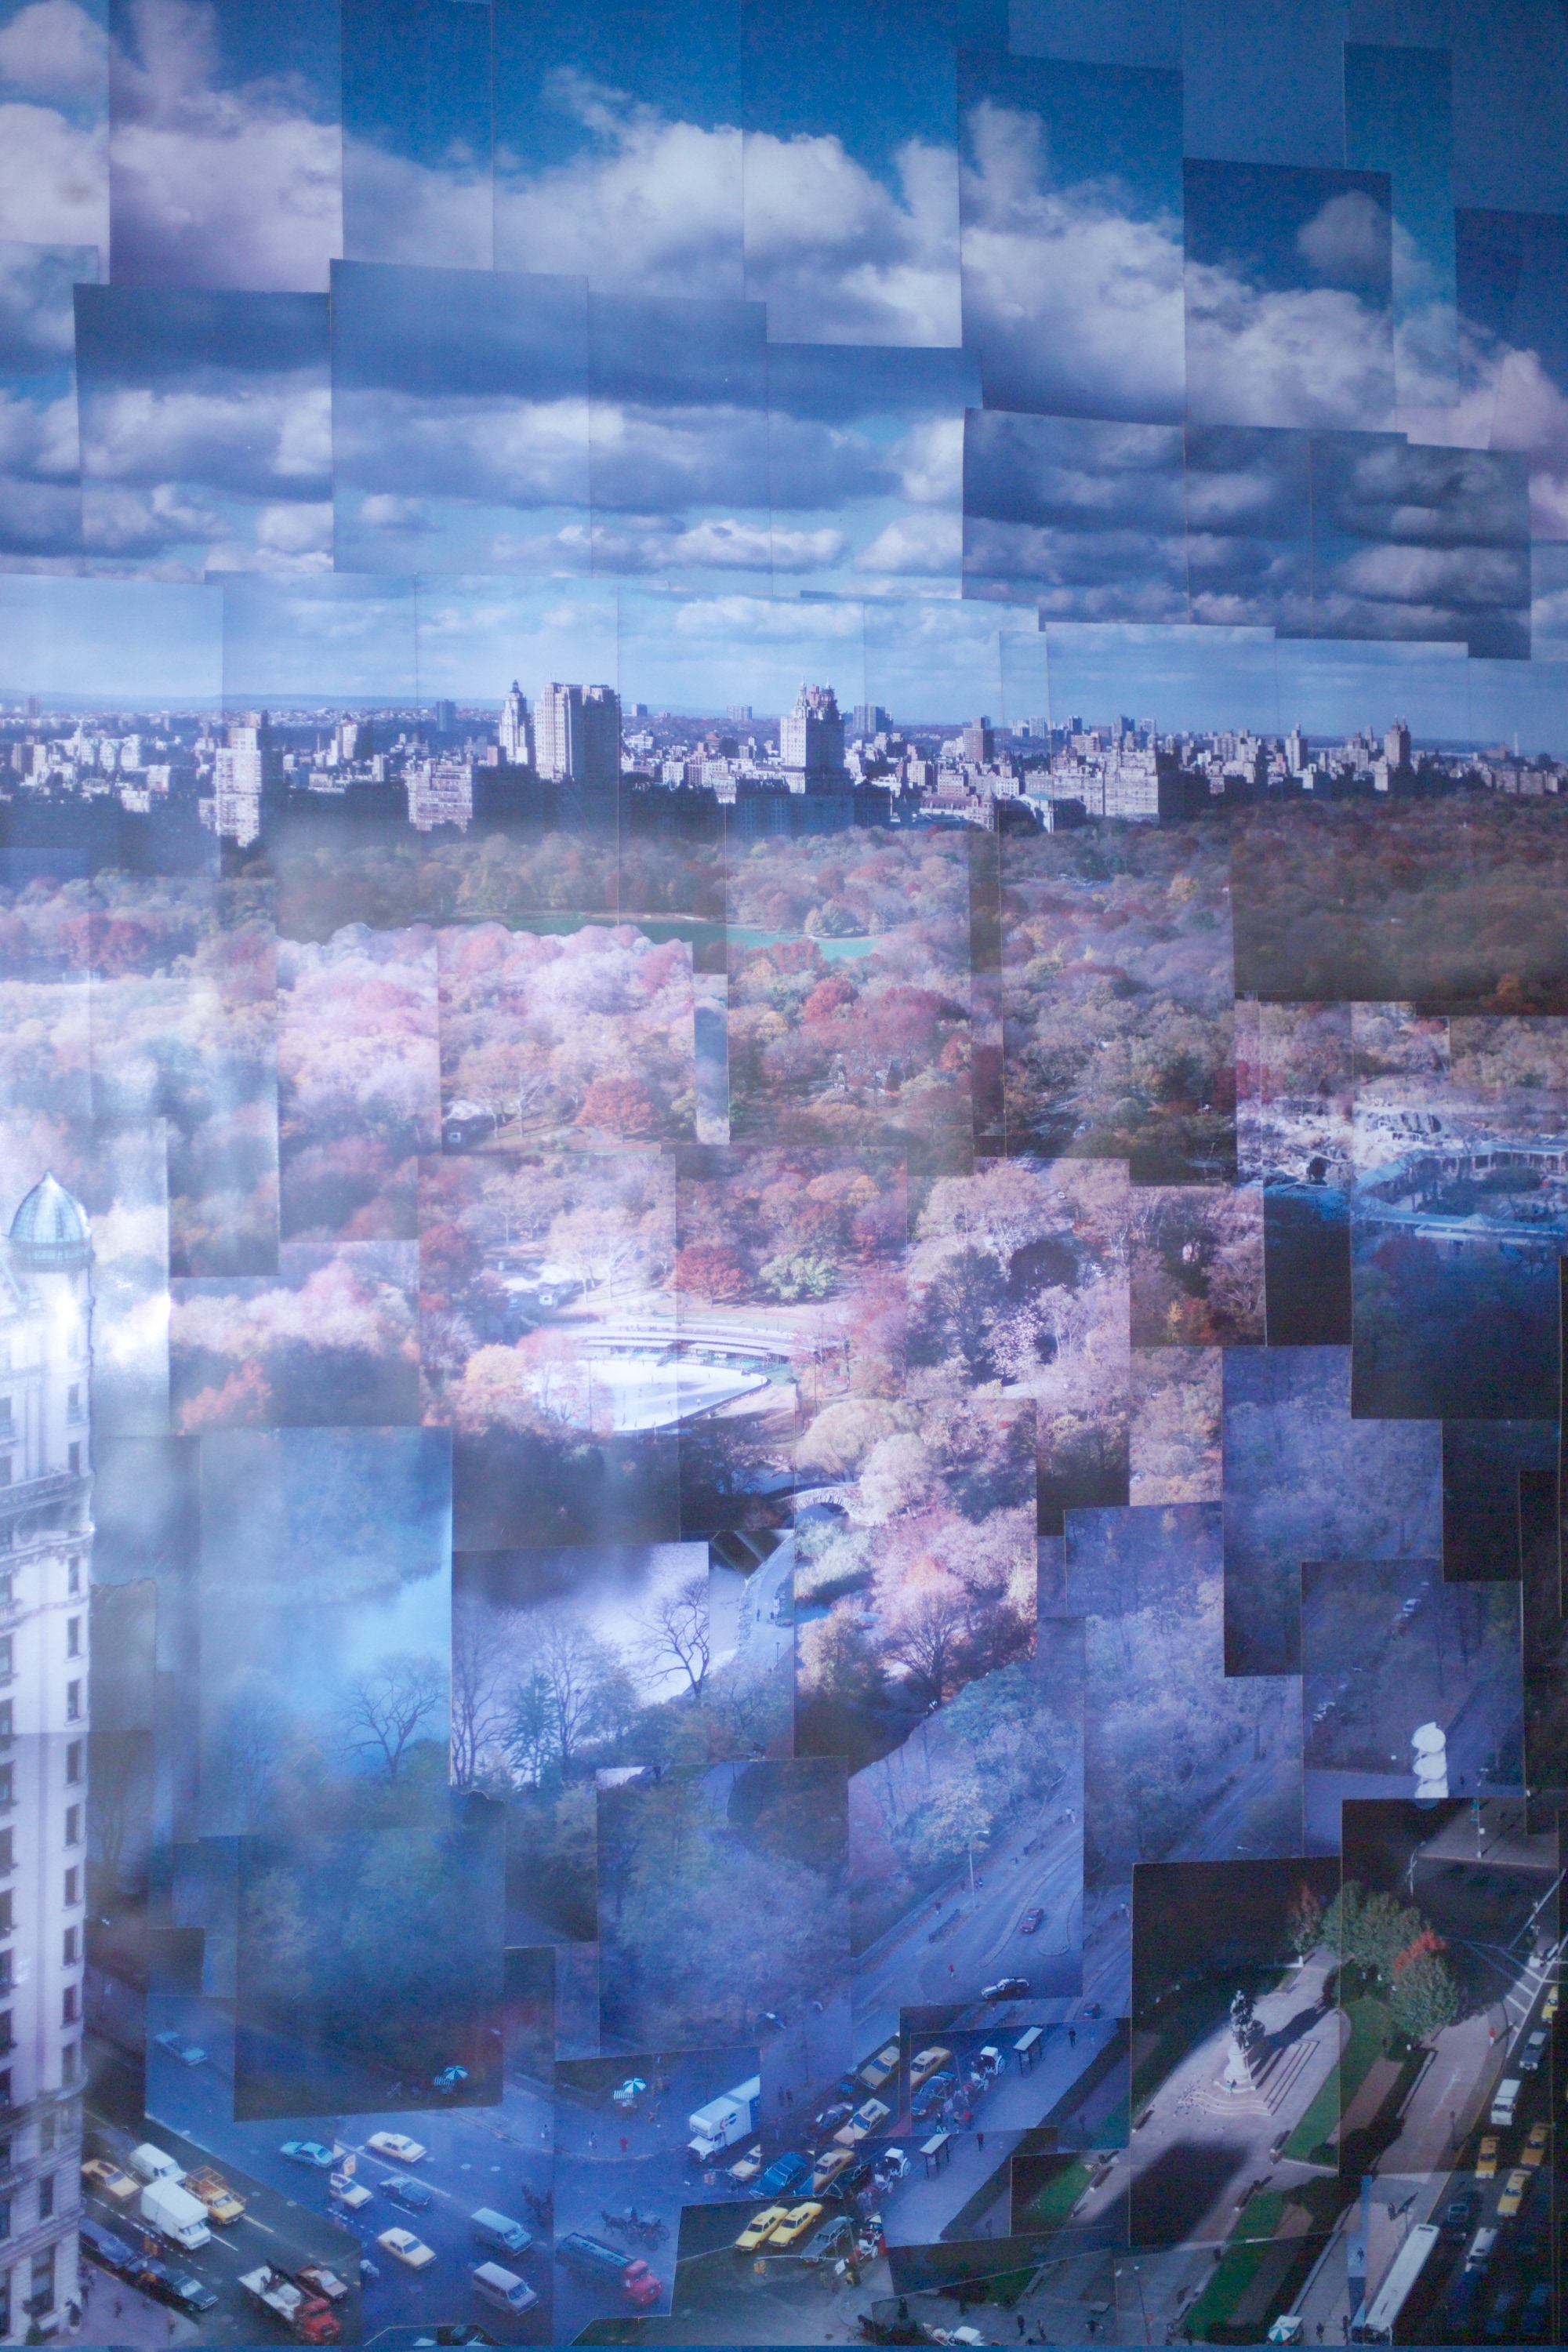
As a test, I decided to try and take a composite picture of the house. It’s not the most interesting subject in the world, especially compared to downtown New York City, but at least it’s close to hand. I used a 200mm lens so that each picture would cover a small area. I use the minimum apeture, f22, in order to get good depth of field. I do, however, refocus between pictures, which of course changes the optics slightly so I don’t get a perfect match between pictures – but that’s a feature not a bug. Also, the camera is set to automatically set the shutter speed, which changes the exposure between pictures – again, I thought that would be a feature, not a bug. I took a good 30-40 pictures, trying to get a good overlap between them.
When I got the prints back, the first thing I tried was to put the prints together. I bought some foam board and glue sticks, and stuck the pictures down. The results looked pretty good. I’m disappointed to find that I missed a couple of spots. Doing it this way has a couple of advantages – you can rotate pictures to match and you have a better view of the whole thing, but it also has some major disadvantages, like the difficulty of moving things after you’ve stuck them down and the possibility of getting finger prints on the prints, and not really knowing how big a piece of foam board you need until you lay out the pictures. But the main advantage is that the physical pictures give you some physical depth and separation, which I like a lot.
The second thing I did was to take the Picture CD and Photoshop. I made a big canvas, and then one at a time I opened the pictures, did a splat-A (select all), splat-X (cut), then closed the picture and pasted the cut buffer into the big canvas using splat-V. This would make a new layer for the pasted in picture. I then made that layer 50% opaque or so, and used the Move Tool to position it. After I was satisfied with the position, I would make it 100% opaque, and adjust the layer up or down. Like on the physical photograph one, I was trying to emphasize the front door of the house, putting the front door pictures in the top most layers and going down away from it. The biggest disadvantage of the move tool in Photoshop (or more likely, my understanding of Photoshop) is that there wasn’t a way to make minor rotations of the individual elements to help them match up right. But then again, perfection isn’t the goal.
I’m fairly pleased  with the results.