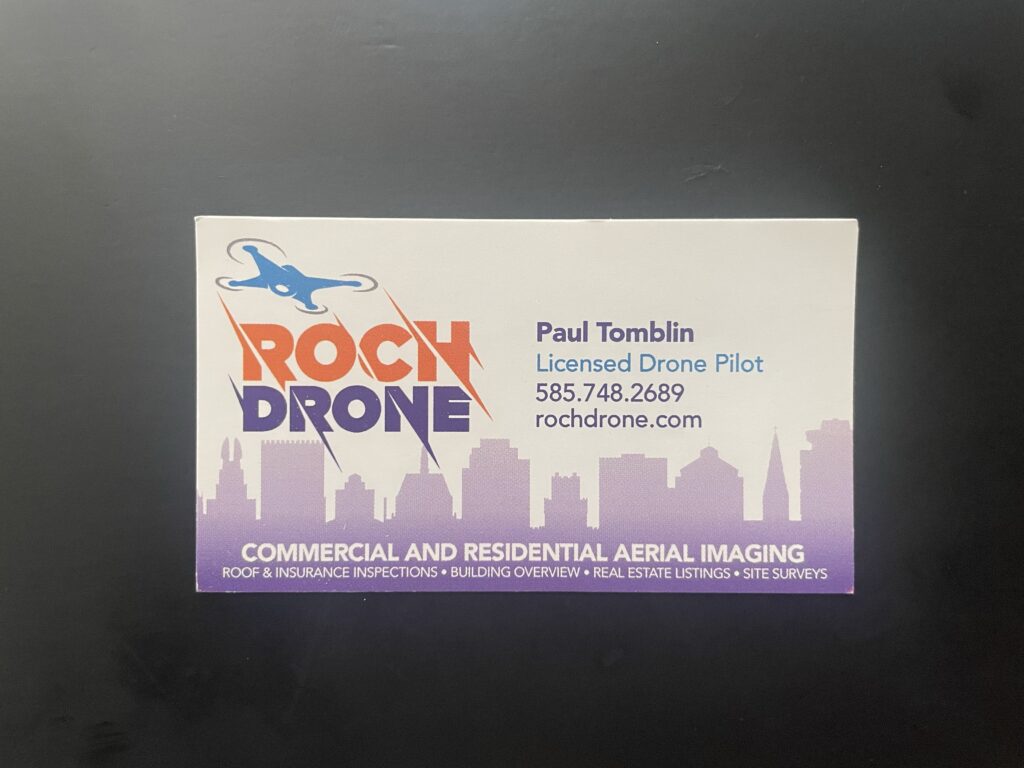
Another camera, another time limitation

One of the things I liked about the Garmin VIRB 360 camera is that they actually say “Constantly record for more than 1 hour on 1 charge5 — without overheating” on their product page, which shows a lot more concern for continuous recording than GoPro. They also sell a cradle that gives external power. So I thought I’d be all set for the sort of 2 – 3 hour recordings that have been my holy grail since I got into race videos.

I’ve been running various tests with different combinations of external batteries, and never seemed to get more than 1.5 hours. And today while running a test, I just happened to be looking at my camera when I displayed a “High temperature alert” on the screen just before it shut down. Well, again, I’ve got to give them props in handling high temps better than GoPro – GoPro usually don’t even give you a beep before they shut down for high temps.

But I’m still left with the quandary on how do I keep my cameras from overheating. I’ve thought about covering my camera with tinfoil or attaching a computer CPU heatsink, but a 360 camera doesn’t give you much in the way of non-vital surface to attach things to. Freeze it? My Fenix can act as a remote for it, maybe I could just turn it off in the middle of a race when nothing much is happening?

New Camera

I decided to make a jump and bought a used Garmin VIRB 360 camera. I was going back and forth about this camera, because it’s several years old and there’s been no hint that Garmin is considering updating it or even improving the support (there are posts in the forums complaining about bugs in Garmin VIRB Edit that have been unfixed since 2016).

But there are two extremely important factors that led me to buying it:

  • They advertised that it won’t overheat even with an hour’s continuous recording. Considering how many times I’ve lost a GoPro early in a race due to overheating, that’s a good thing to see an action camera care about. GoPro seems to feel that action cameras are meant to record short clips like a downhill ski run or a sky dive, not an hour or more of continuous action.
  • They make a “powered tripod mount” that allows you to connect your camera to an external USB battery in a water resistant manner.

There’s another cool feature I didn’t know about until I got it home – when it’s paired to my Fenix fitness watch, it will start recording when I hit start on an activity on the Fenix automatically. Also I get a warning on my watch when its battery is getting low. If I get the external battery working, I might prefer not to wait until I hit start to start recording, but it seems like this is a good way to record as much of a race as I can.

I have done a few shoots with it, and so far it seems to give just about exactly an hour of video even with GPS turned on and external sensors and devices paired to it. The video is pretty good quality, and I like the idea of a 360 degree video for seeing all the action in a race.

You should be able to move the viewport around by clicking and dragging or touching and dragging, or even moving your device around if you’re on mobile.

I’m still not sure if I’d rather put up 360 video on YouTube people and hope people see which direction the cool action is happening, or if I’d like to “direct” it.

Here’s a 360 video where I use the “reorient feature” to point the default view where I think the action is, but the viewer can move the viewpoint around manually, and then when I reorient it might get confusing.

Again, you can move the viewpoint around manually, but if you don’t you can see that I’ve tried to move it myself to track things of interest.

And here’s pretty much the same “reoriented” video, but converted to flat so the viewer can’t mess with the viewpoint.

In this one I still track points of interest, but you can’t drag the viewport around to look at things other than what I want you to look at.

The camera records what Garmin calls “G-Metrix” data – i.e. the speed and distance and heart rate and other data that I love to overlay on my videos. By recording it in the camera instead of taking it from my Fenix watch, it simplifies the process of getting the data on the video, but there are a couple of major problems with it

  1. VIRB Edit lets you plonk a gauge on the screen, but it stays in the same place relative to the view, rather than to the viewport – i.e. when you move the viewpoint around, it scrolls off the screen. I’d rather there was an option to keep it static in the viewport as you move the viewpoint around. And this is still true even if you’re using what they call “Hyperframe” to convert the video to flat. You’d think once you made the video flat you could use gauges the way you do on a normal flat video.
  2. There are a different set of gauge templates for 360 videos than for flat videos, and when you use Hyperframe, they still only show you the 360 templates.
  3. VIRB Edit had terrible editing tools. You’d think the difference between doing “trim right” in VIRB Edit and Final Cut Pro X (FCPX) wouldn’t be huge, but Final Cut Pro has keyboard shortcuts as well as “blade” and “blade all” as well a the trims. When it comes to transitions and titles the differences are night and day – there are 156 transitions in my FCPX (some are 3rd party) and 5 transitions in VIRB Edit, and hundreds of titles in FCPX versus 1 in VIRB Edit. Add to that the fact that VIRB crashes with shocking regularity – like 3 times when trying to do that flattened video before I gave up and did it in Final Cut Pro X.

So yes, I can edit the footage in Final Cut Pro – I’m not sure if I can grab it directly off the SD card or if VIRB Edit has to do something first, but I grabbed a video out of the ~/Movies/Garmin directory and dropped it in to FCPX and it recognized it as a 360 video and I was able to point around and do 360 stuff immediately.

So now I’m trying to figure out what my future video workflow will be. If I’m going to always flatten the video, I might keep doing what I have been doing and making a blue screen video with gauges in VIRB Edit and overlaying that on the flat video in FCPX. But if I’m going to output 360 videos, I could stick the gauges down near my boat, and output the full video with the gauges in VIRB Edit then bring it into FCPX for cutting, adding titles and transitions.

Maybe I need to do both for a while and see what people like.

Trying to figure out Fenix 6 “Race Activity” fields

I went out for a paddle today, and had both my Forerunner 920XT and my Fenix 6X on my foot strap, and both set up to “Race an Activity” with the same 10km activity selected. The course I was racing had 57:08.3 as the base time. I had my GoPro so I could grab some shots of both screens. I am doing this because I can’t for the life of me figure out what some of the fields are on the Fenix. I know what fields I need on the 920XT, but the equivalent fields on the Fenix are either in different places, or they show utterly insane values.

First set of pictures

This picture is quite early on in the paddle. The 920XT is showing a Estimated Finish Time of 55:21, and Time Ahead of 0:11. So it thinks I’m going 11 seconds faster than the activity I’m racing. Since the difference between the target time of 57:08.3 and the estimated finish time of 55:31 is more than 11 seconds, I assume it means I’m 11 seconds ahead right now, but if I keep it up I’ll finish in 55:21. On the Fenix side, the Estimated Finish Time is 1:01:23. I have no idea why it thinks I’m 6 minutes slower than the 920XT. But here’s the insane part: The Time Behind is showing 42:07:48. WHERE THE FUCK IS THAT 42 HOURS COMING FROM!!! Even if the 42 represents something other than hours, if the time behind is 7:42, I’m trying to figure out what that mathematically relates to, because the estimated finish time is only 4:14 behind the goal time, not 7:42.

First Set.

Another screen shot around the same time. The top one is labelled “ETE”, I think that’s time remaining. The middle one is distance remaining (9.49 km, so about 500 meters into the “race”). I’m not sure, but I think the bottom one is actually an estimate of the clock time when I’m expected to finish.

Second Set.

This is further along. I assume the prominent number in the middle is the estimated total time? The top one is distance remaining (5.47 km). That syncs up nicely with the 920XT saying I’ve completed 4.53 km.

Second Set.

This is seconds after the previous one. The Fenix is showing an utterly useless map. If there’s a way to zoom this in so it would be more useful, I haven’t discovered it.

Second Set.

And a few seconds later. The Fenix is showing the same distance remaining, although this time in the prominent middle position. The top field is, as I mentioned in the second screen shot, apparently the estimated time to completion. The bottom one is the estimated clock time at completion. No idea why I’d want to know that.

Second Set.

Here’s that baffling “Time Behind” again, still with the strange “42”. The estimated finish time at the bottom of 59:20 lines up OK with the 58:12 earlier in this second set of pictures because I had to stop paddling to take these so I’m getting slower with each shot. But again, even ignoring the “42” in the top field doesn’t make sense, because again, 59:20 is 2:11 slower than the goal time, not 6:39.

I wish there was some documentation on what these fields were, and I wish there was a way to customize them.

Disappointed once again

Early this year (or possibly, it’s hard to tell the flow of time, but it was “pre-COVID”), I saw a new 360 degree camera called the Insta360 ONE R. I was really interested because I’ve been thinking that a 360 degree camera might be better for my kayak videos that the split screen that I currently use (at least, what I use in the rare occasions when both cameras work). I could either publish as a 360 video or crop it to a flat but looking at what might be interesting right now (like the kayaker sneaking up behind me or the C-2 I’m about to take a rest behind).

And there are three reasons why I started thinking about this now with this camera when I hadn’t with previous 360 degree cameras:

  • I’ve heard horror stories about how long it takes to stitch the video together with the GoPro Fusion and GoPro Max – like possibly more than 2-3 days for one of my 2 hour race videos. The ONE R supposedly does the stitching in the camera with “no waiting”
  • The ONE R is modular, so if you decide 360 is a gimmick and you don’t want to do it any more, you can pull out the 360 module and plug in the 4k module and use it just like a Hero 7.
  • There were no extended batteries for any 360 camera, just a lot of suggestions to buy multiple batteries and swapping them out, which isn’t an option in a kayak race.

For various reasons, GoPro has always seemed to target about a 70-80 minute battery life. And GoPro’s support page freely admits that they don’t care that the GoPro Hero 7 and Hero 8 will overheat and shut down long before you hit the 70 minutes if you’re trying to use the full advertised resolution and frame rate on a summer day. I get it, I guess, their target market are guys with RedBull sponsorships shooting 5-10 minute ski or surf or mountain bike runs, not me.

The ONE R listed a similar battery life (of course, no indication of whether they have a similar overheating problem), but they also listed a “boosted battery base” as an option that was coming soon. The “boosted battery base” would double the number of milliAmp-hours, theoretically giving you twice the battery life. But it wasn’t out, so I just bided my time.

Well, the Boosted Battery Base is now out. And to my massive disappointment, they have the following warning on the order page:

ONE R is not waterproof or designed for extreme action shooting when assembled with the Boosted Battery Base.

https://store.insta360.com/product/one_r_battery

I kind of don’t want to buy $500 for a camera if it’s going to be ruined if I tip over. That doesn’t often happen in a flat water race, but I have been pretty soaked by rain. And once would be enough.